

A straightforward sewing project to create a versatile, lightweight shelter.
Years ago I sewed a tarp using the instructions in Ray Jardine’s book, Beyond Backpacking. The “Ray Way” tarp is feather light and has been my go-to shelter for ultralight backcountry travel ever since. More recently I purchased a couple 10’x12′ Tundra Tarps from Cooke Custom Sewing. These tarps, pitched together with a ridgeline create a huge area for lounging and cooking on Boundary Waters trips. They’re precisely sewn and have been incredibly durable in the field. I love almost everything about them. They are outstanding.
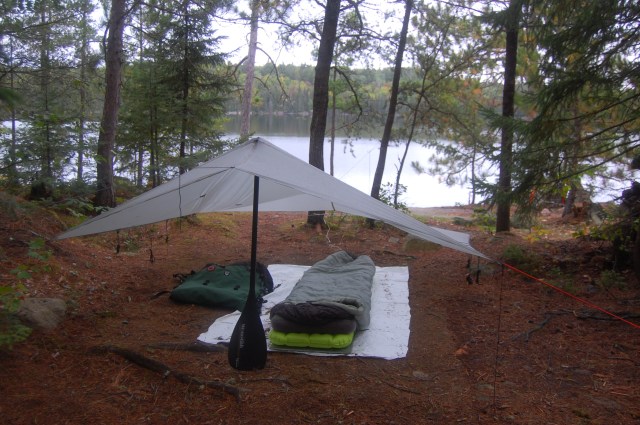
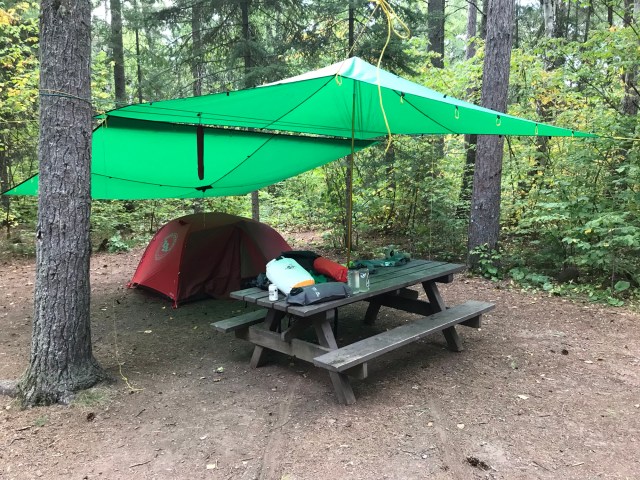
My only complaint with my Cooke tarps is the color. At the time I purchased them, kelly green was the most subdued color on offer. Since then I’ve come to prefer tents and shelters that blend in with the natural environment rather than stand out. The kelly green tarps really pop in a wilderness setting, which is nice when you’re trying to locate your campsite after a day of fishing, but isn’t ideal for minimizing your visual impact in the woods. Although I’ll never replace my Cooke tarps on group trips and for car camping, I thought it would be nice to have another, smaller tarp to complement or replace my Ray Way shelter on solo trips. Time for another sewing project.
My first stop was Ripstop on the Roll to see what they had on offer in 1.1 oz siliconized polyester. I prefer sil-poly to sil-nylon for it’s lower stretch characteristics when wet. Poly also holds up better to UV radiation than nylon, making for a more durable, long lived shelter.
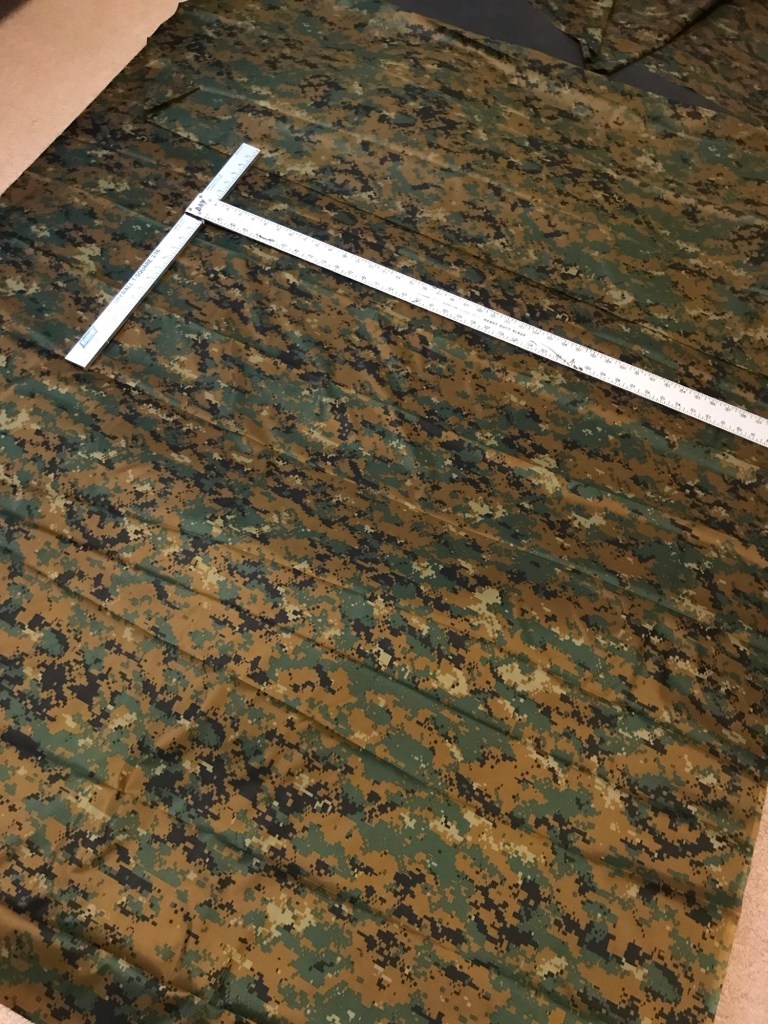
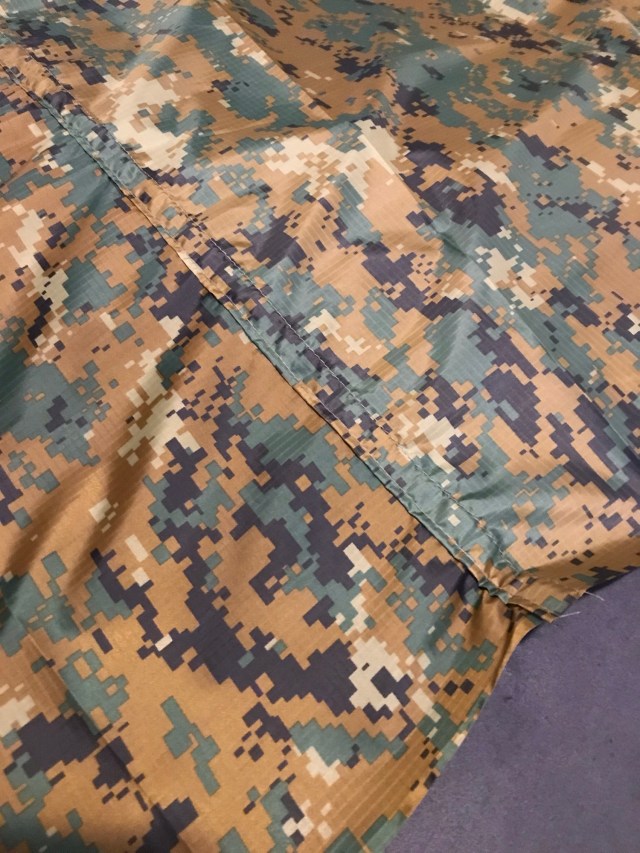
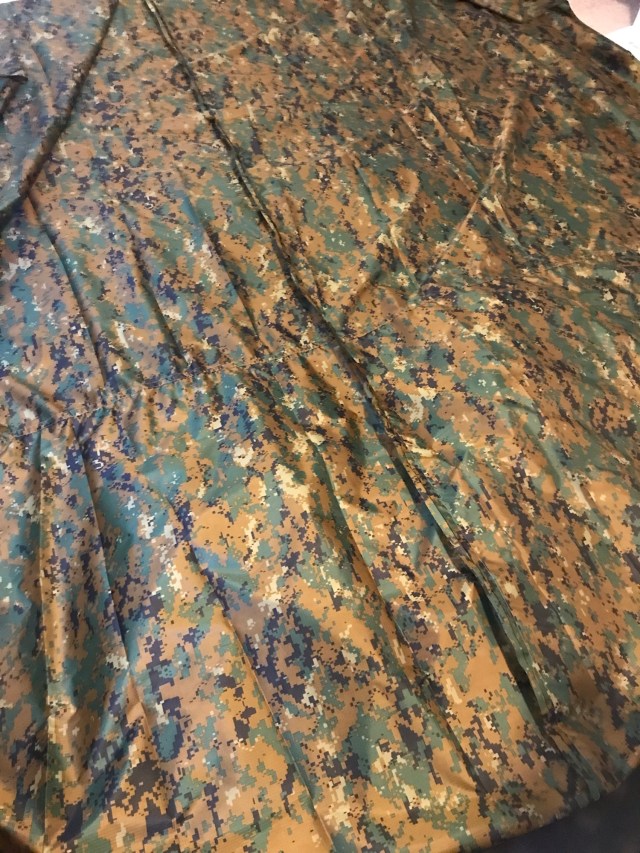
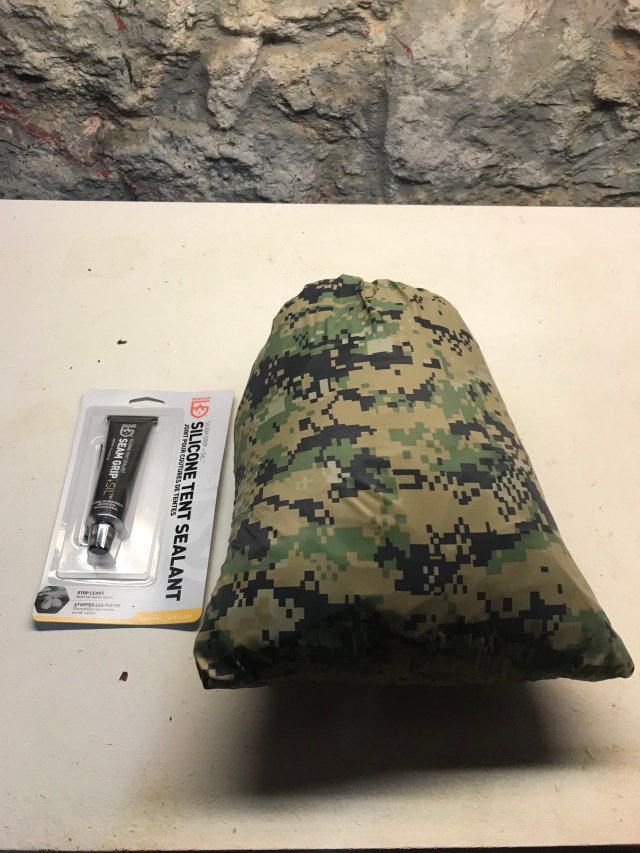
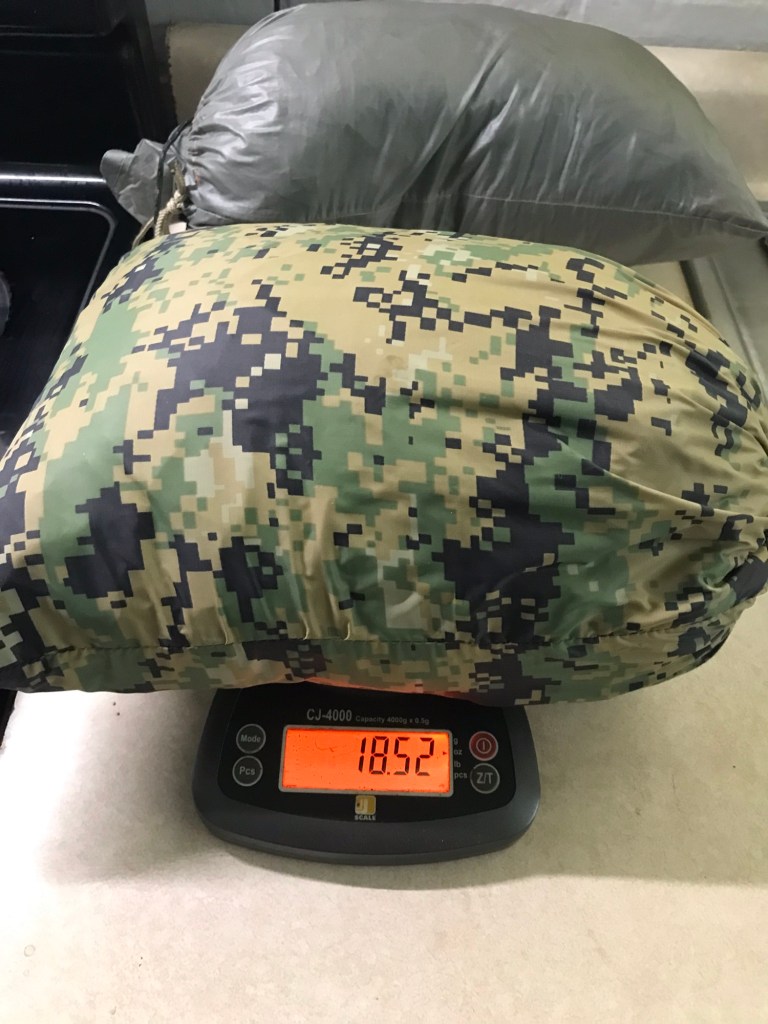
Turns out there are lots of options in subdued colors–coyote brown, olive drab, khaki and, most intriguingly, MARPAT woodland camouflage.
Heck, if you’re gunna blend in, why not go all the way?
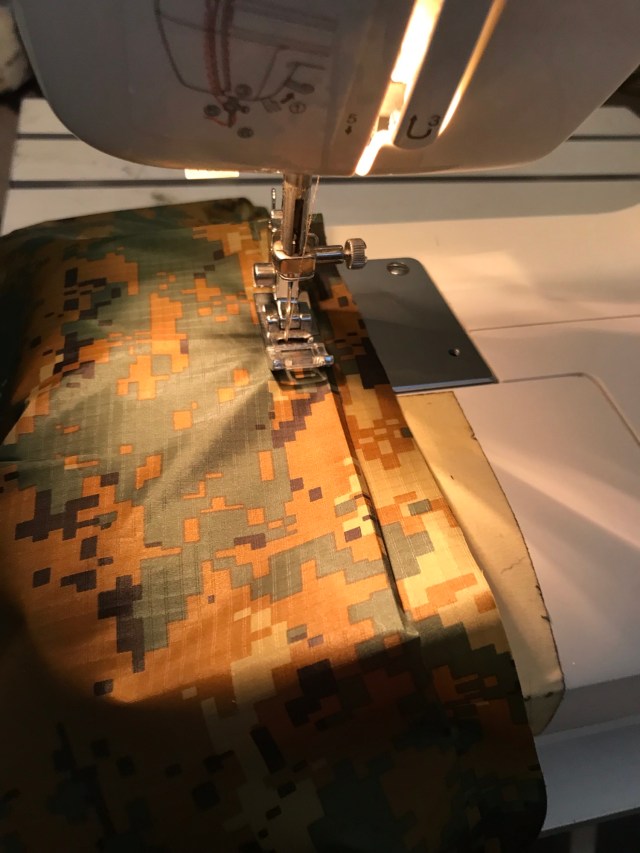
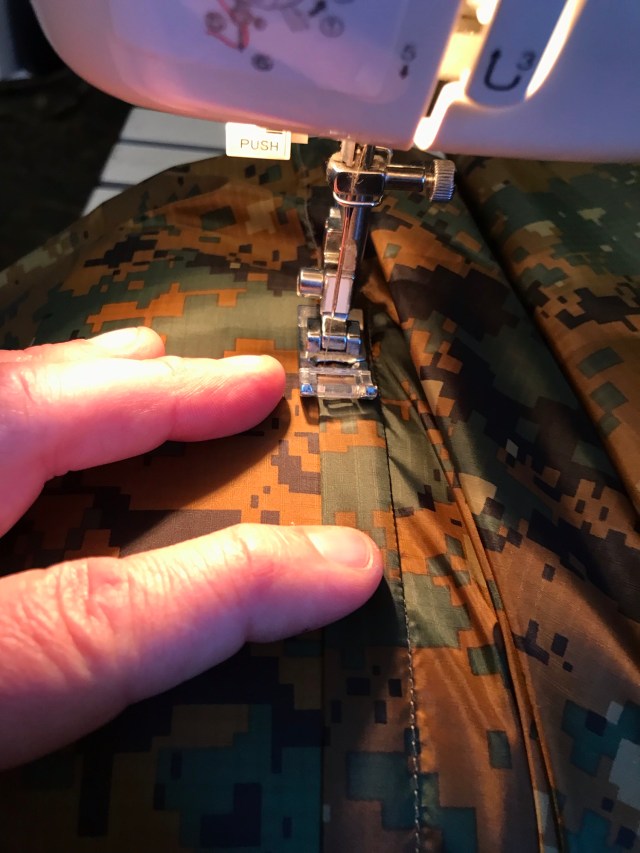
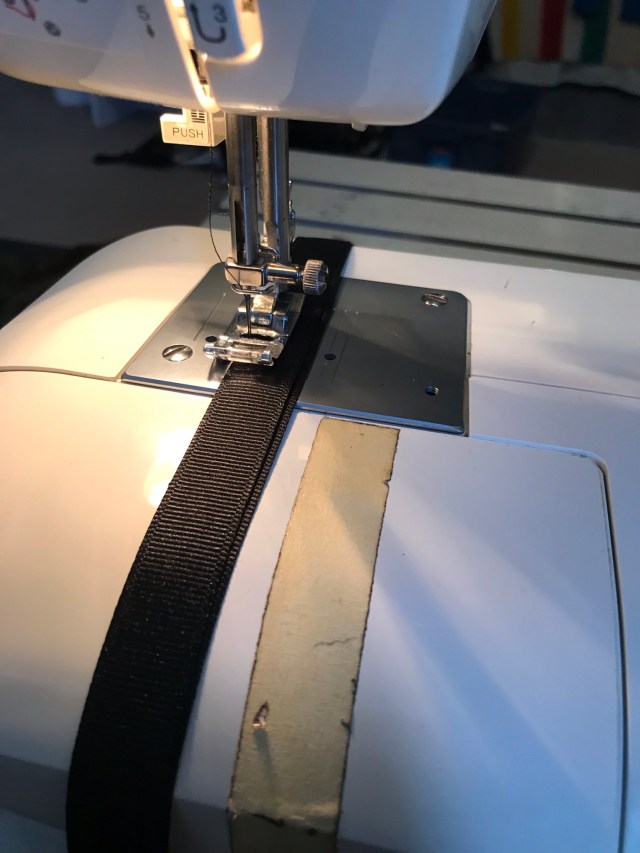
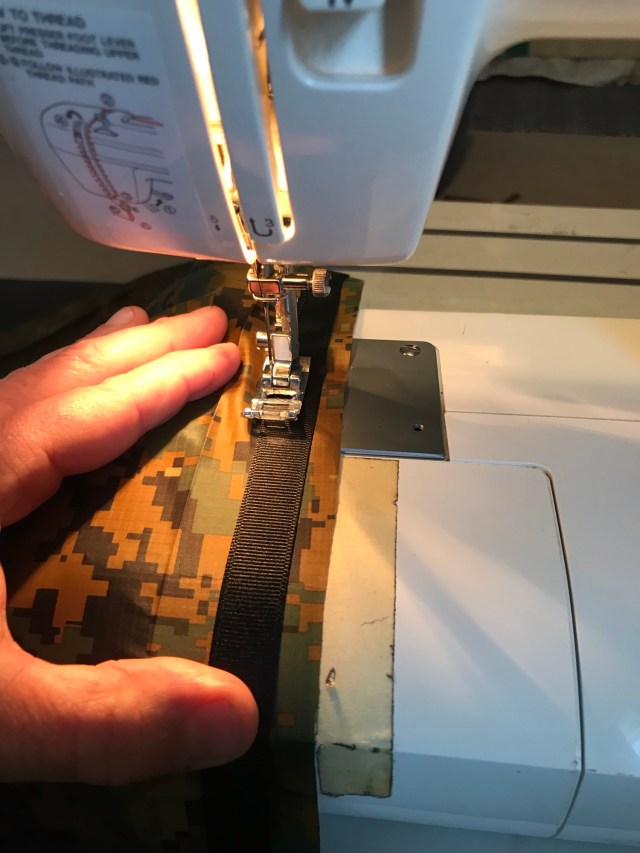
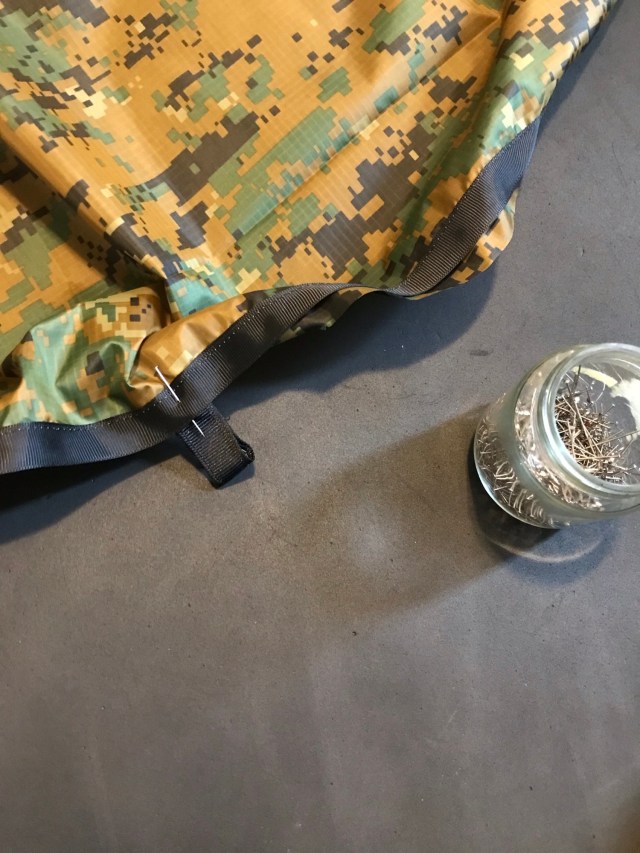
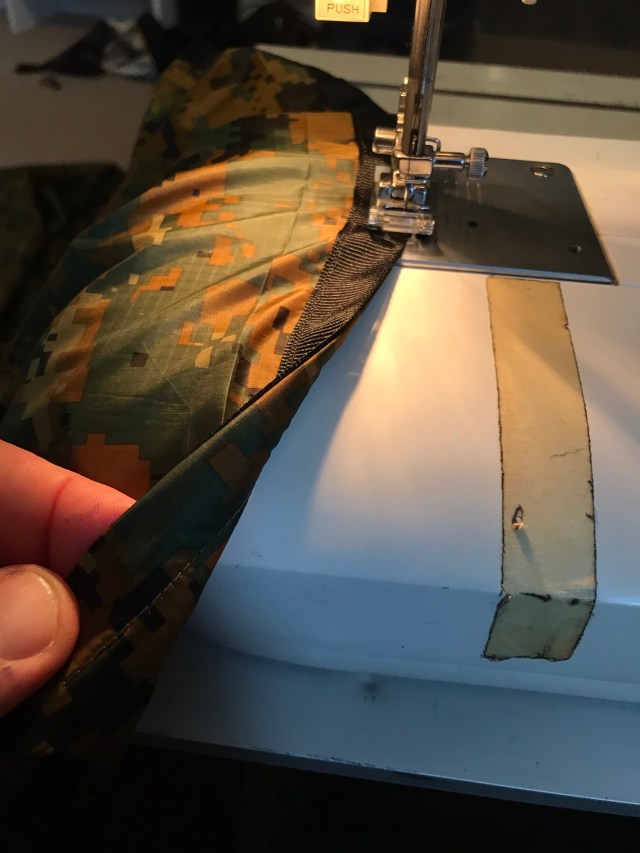
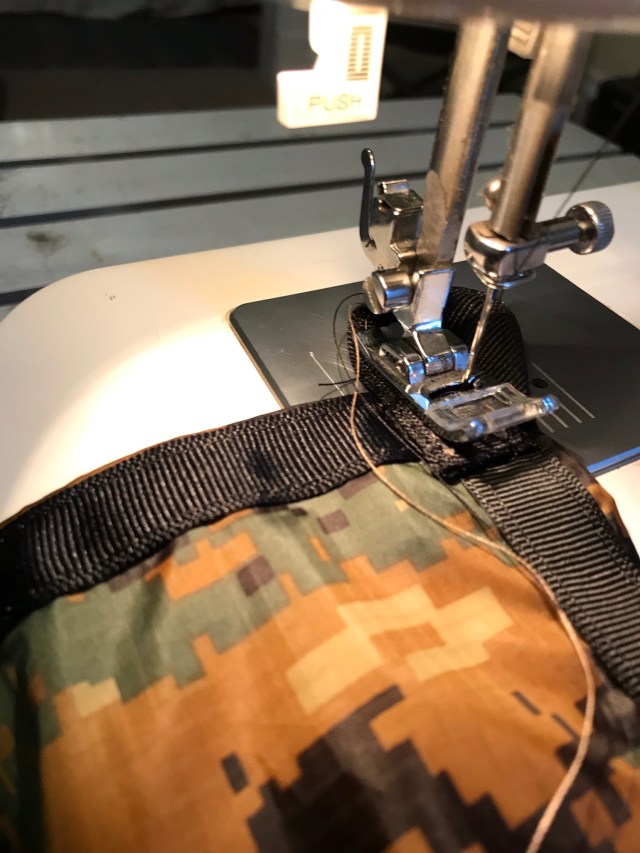
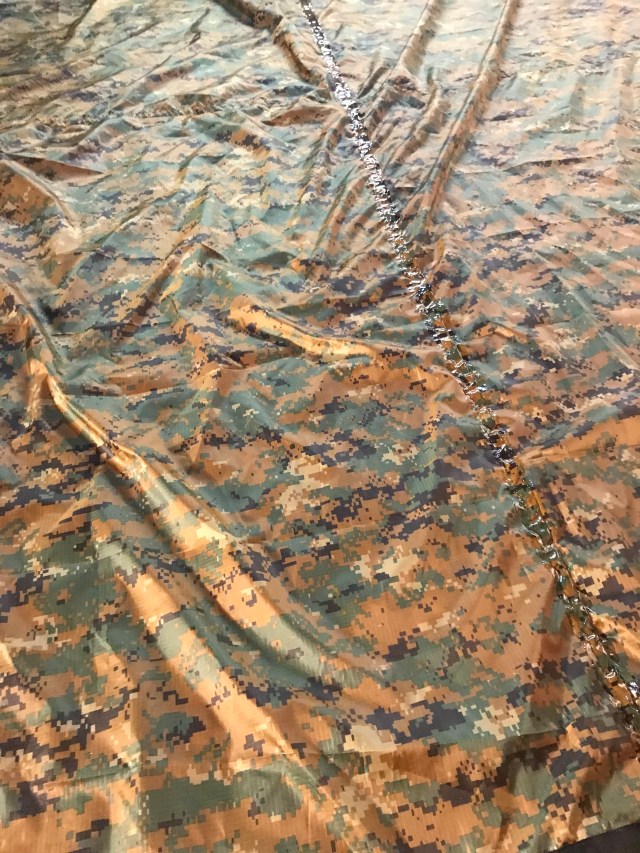
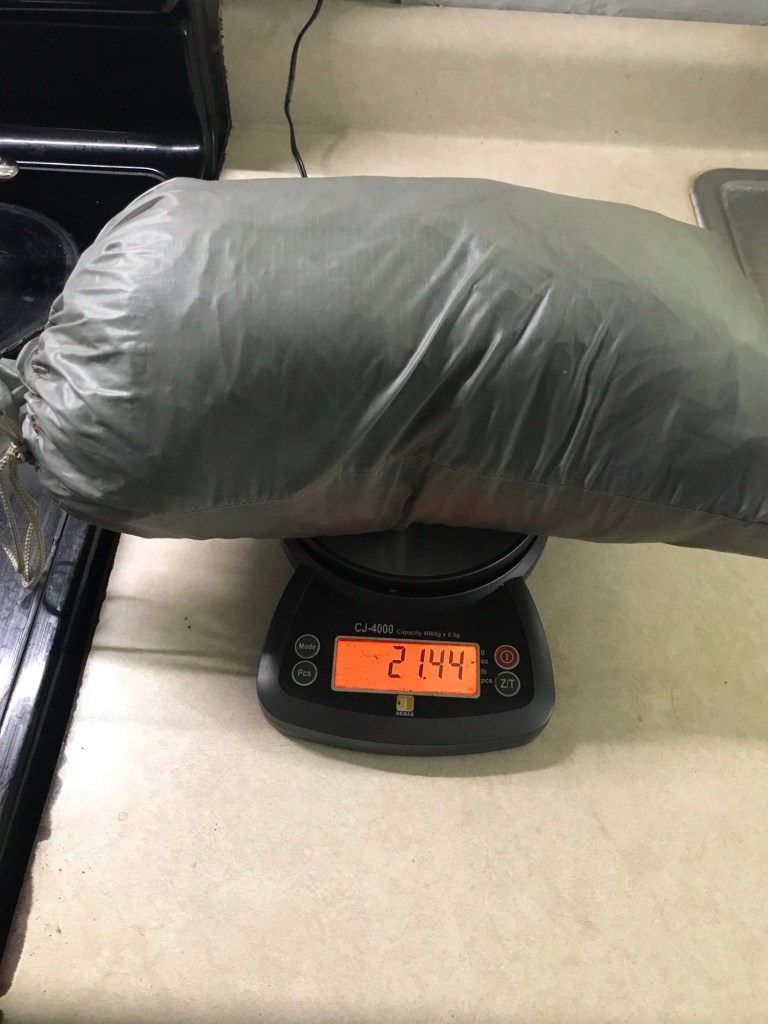
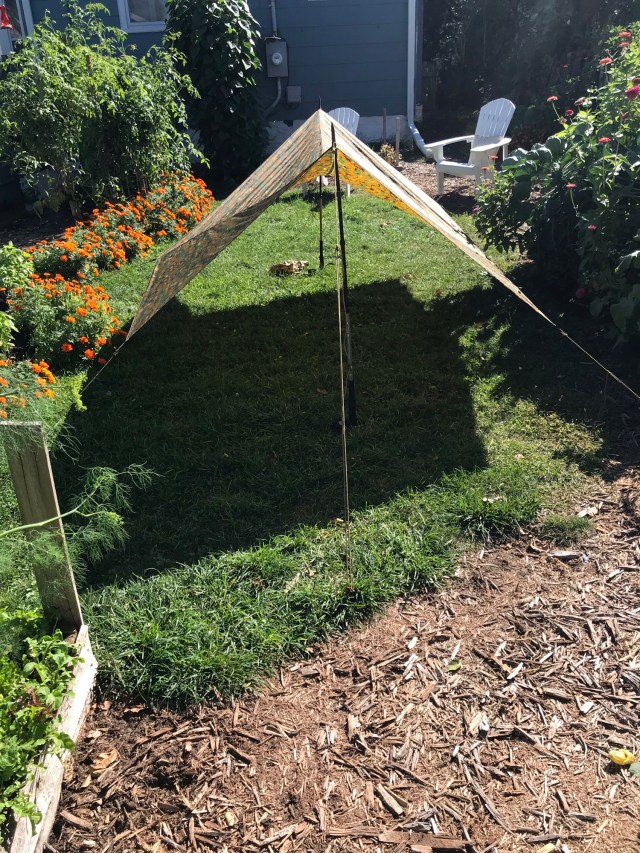
This tarp is a hybrid of the Ray Way shelter and the Cooke Custom Tundra Tarp. It is a 4 panel design that minimizes fabric waste to keep the cost of materials down. Five yards of fabric yield a shelter roughly 9.5’x7.5′–a little longer than the Ray Way tarp and about the same width. The panels are sewn together with a flat felled seam and the border is reinforced with grosgrain ribbon as in the Tundra Tarp. I’ve eliminated the center pole patch on the Tundra Tarp in the interest of simplicity, although this feature is fantastic in a larger tarp for basecamp and canoe travel.
The following images will take you through the planning an sewing process. As with most sewing projects, the most time consuming part is lining everything up carefully before you begin. Once you have everything prepped and pinned, things go fairly quickly.
[This post on the Ripstop By The Roll blog is an excellent resource detailing stitch and seam types.]

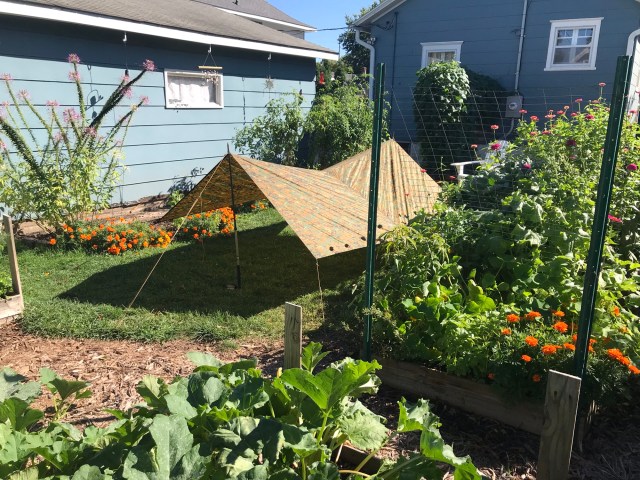
That’s a wrap. All-in costs for this project including fabric, ribbon, sealant and cordage ran about $70, which is roughly half what you would pay for a similar tarp at an outdoor store. If you have basic sewing skills and a little patience, sewing a tarp like this is a fun and rewarding way to get an ultralight piece of backpacking gear at an affordable price.
Materials
5 yards 1.1oz sil-poly fabric
20 feet 5/8″ grosgrain ribbon
Polyester thread
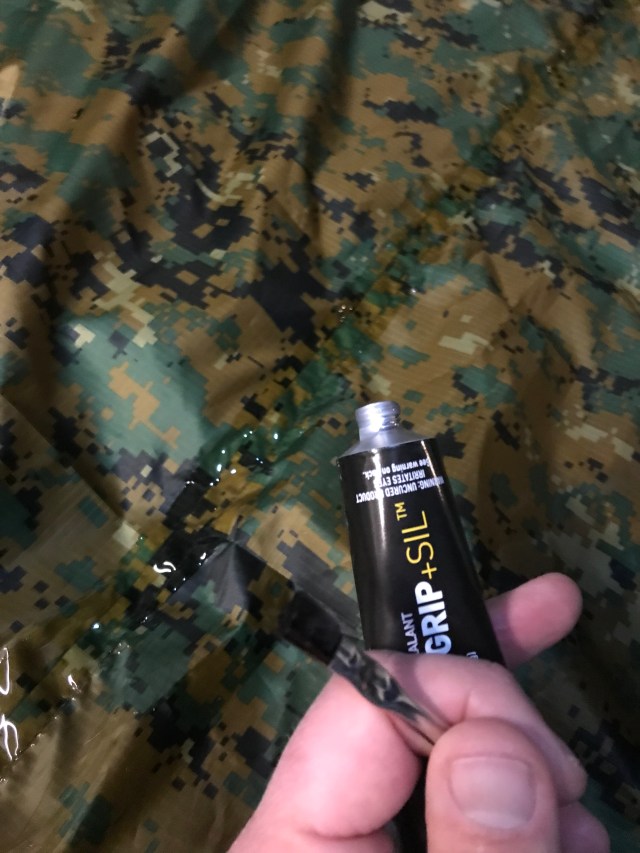
Seam Grip Sil Seam Sealant
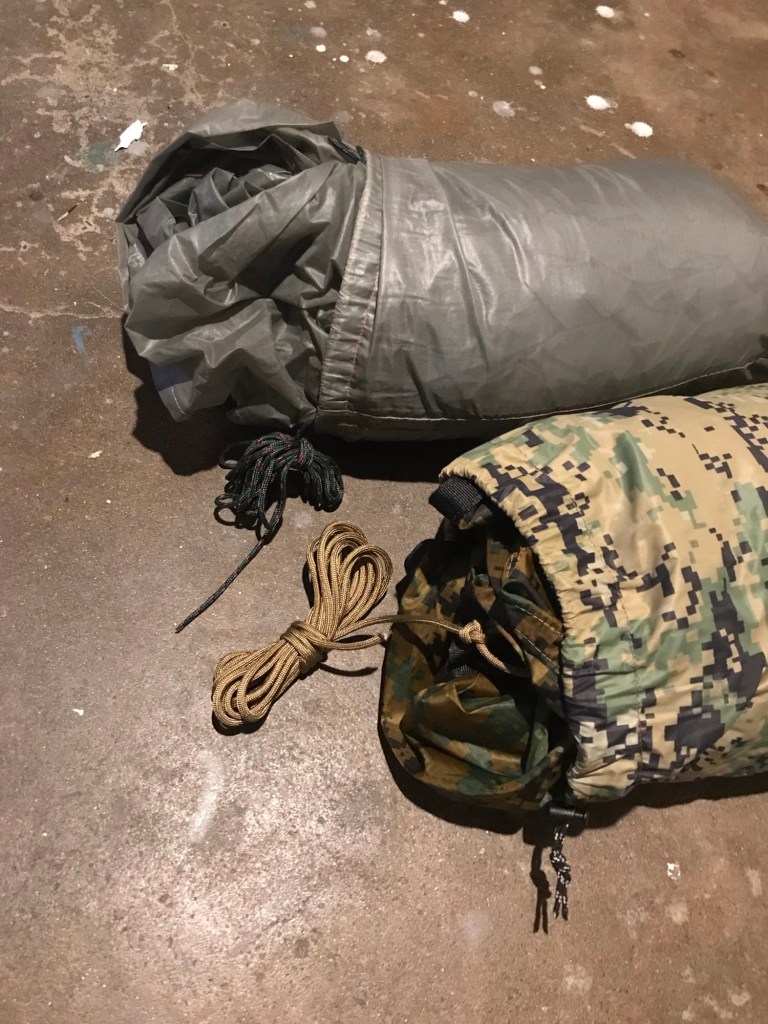
100 feet 550 paracord
If you enjoyed this post, please consider subscribing to our blog by using one of the links in the menu on the right side of the screen. On your mobile device you’ll find the links if you scroll to the bottom of the page. Thanks!

That’s awesome, Brian. You always make me want to get a sewing machine. Some day I will. Happy adventuring!
Thanks Mark!
Interesting read…