
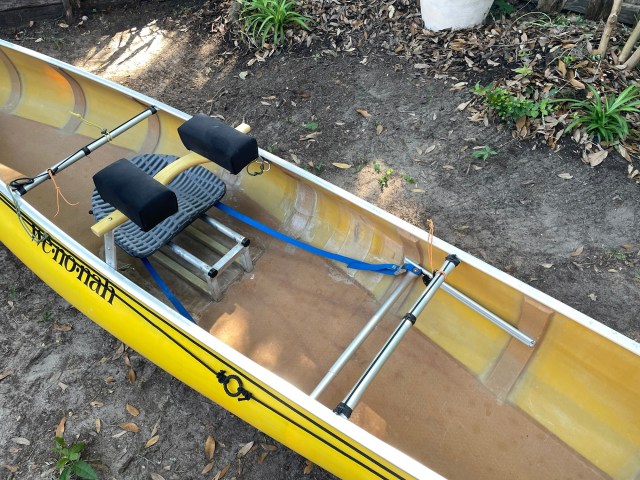
A solution for solo canoes with a pedestal seat.
I love pedestal seats in solo canoes. A sliding seat on a pedestal allows you to effortlessly change the trim of the canoe in wind and waves. It’s like having a retractable skeg on a sea kayak and can play a huge role in making a solo canoe more controllable when things get windy.
Problem is, when you attach a yoke to the canoe, there’s no room for your head.
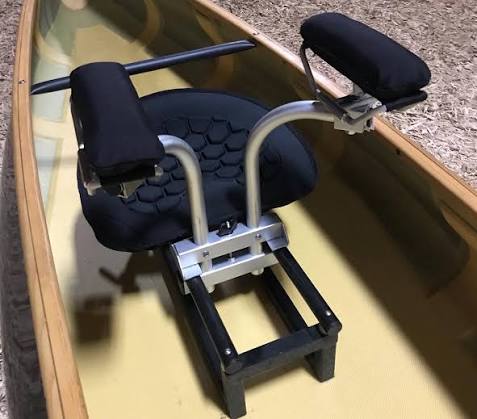
The solution to this is a yoke that is raised far enough above the gunwales to let your head clear the pedestal frame. Wenonah Canoe sells a specialty yoke designed by Chosen Valley Canoe Accessories that accomplishes this nicely, but I have been thinking about a DIY option for a while now and finally decided to give it a shot on my old, beater fiberglass Encounter. The following images will take you through the process, and reveal a few mistakes I made along the way.
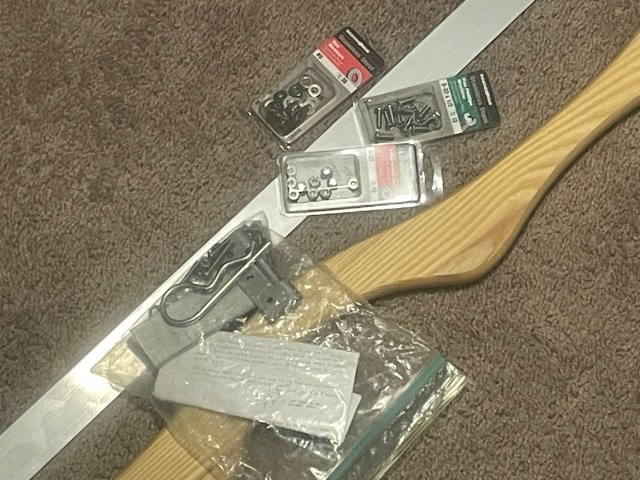
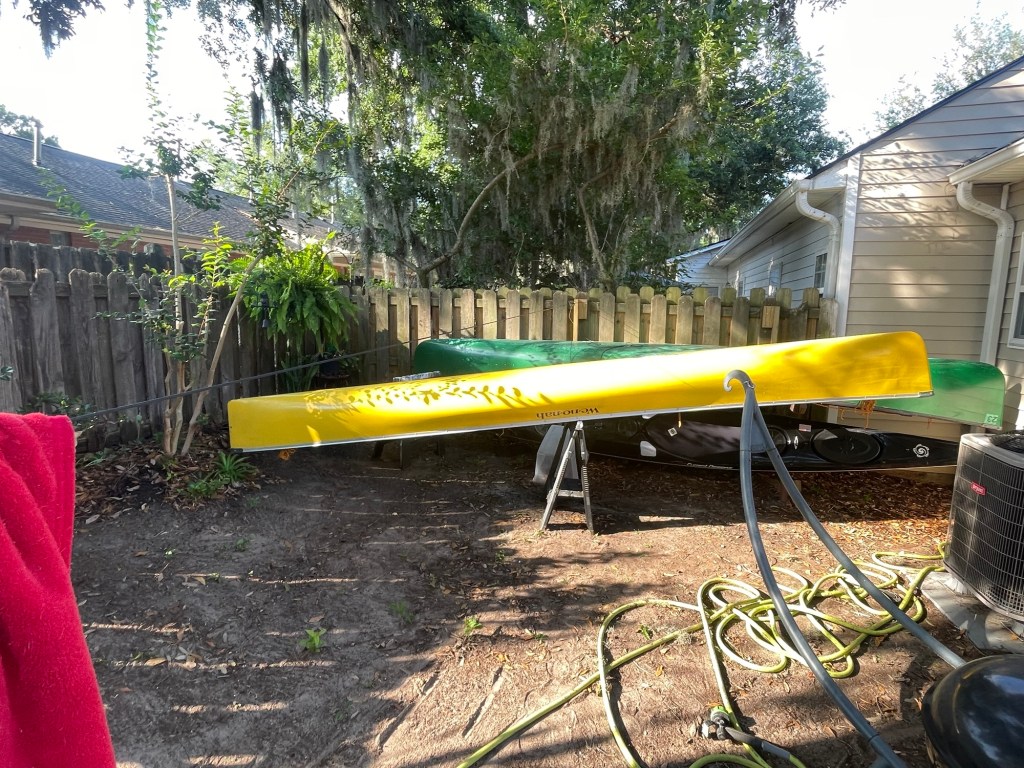
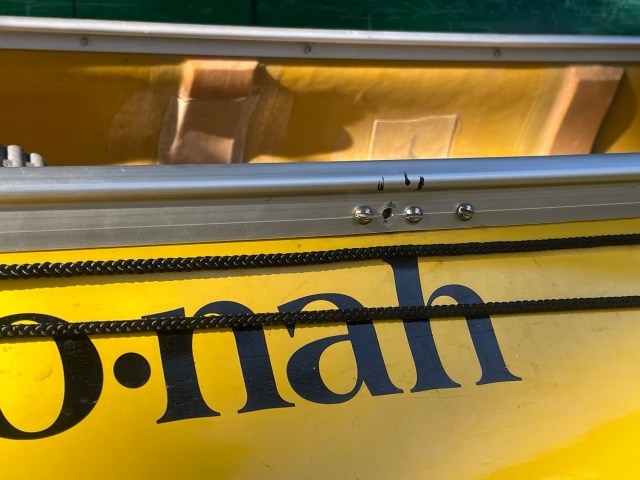
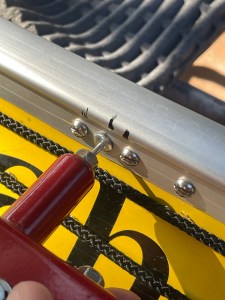
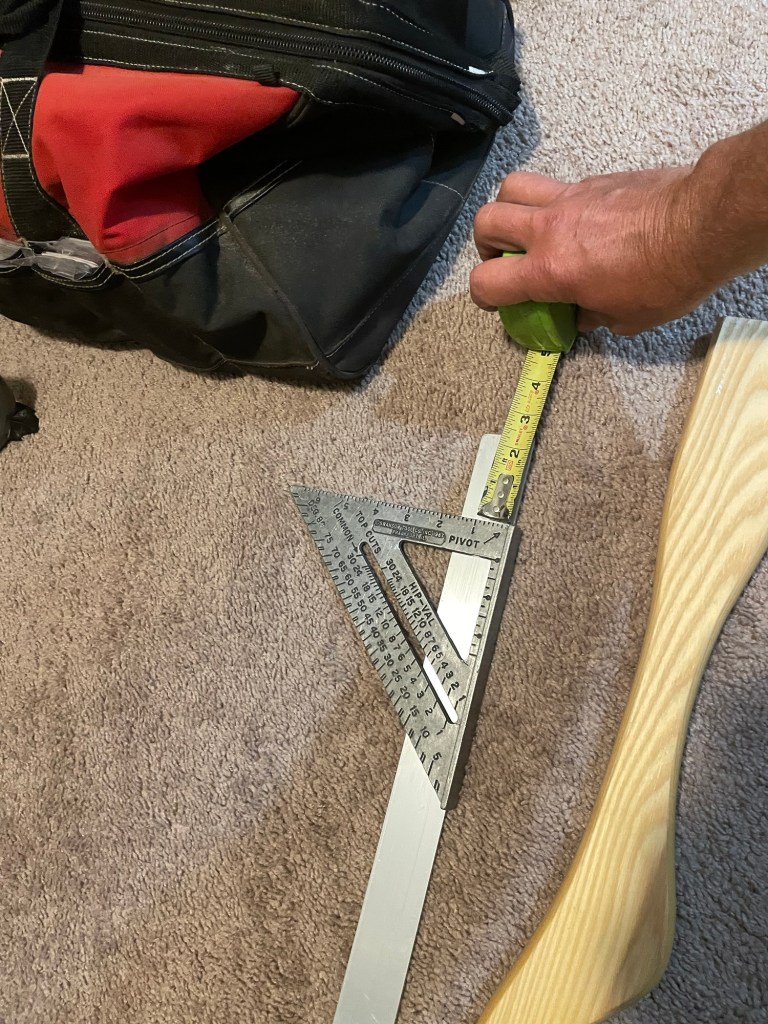
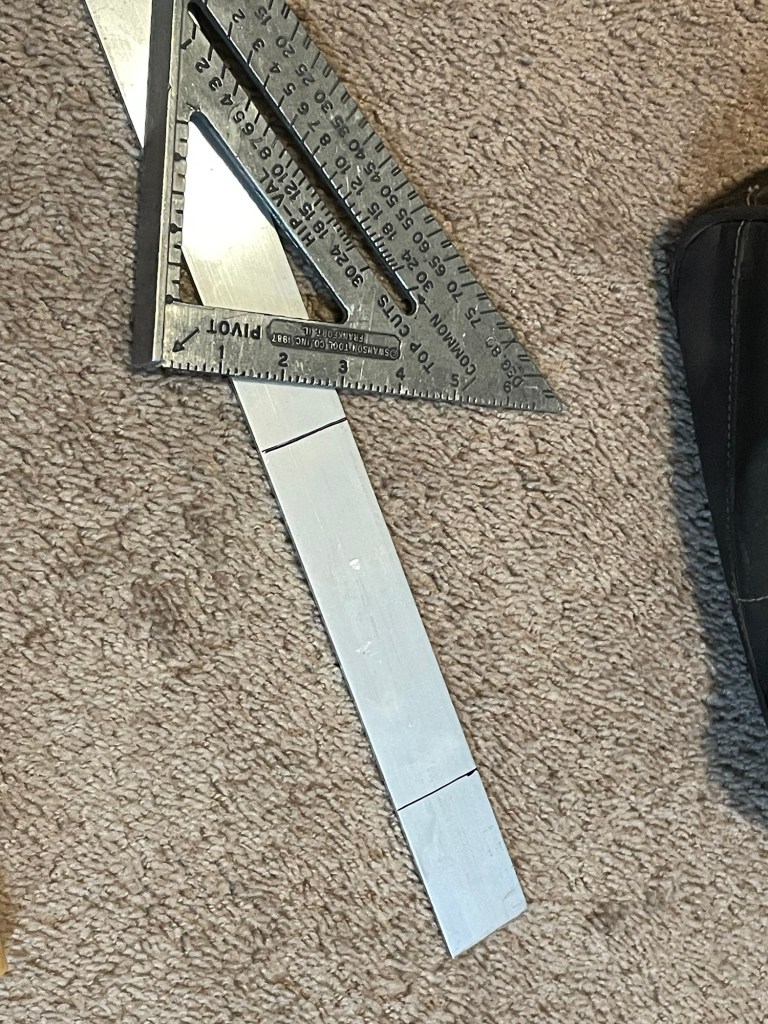
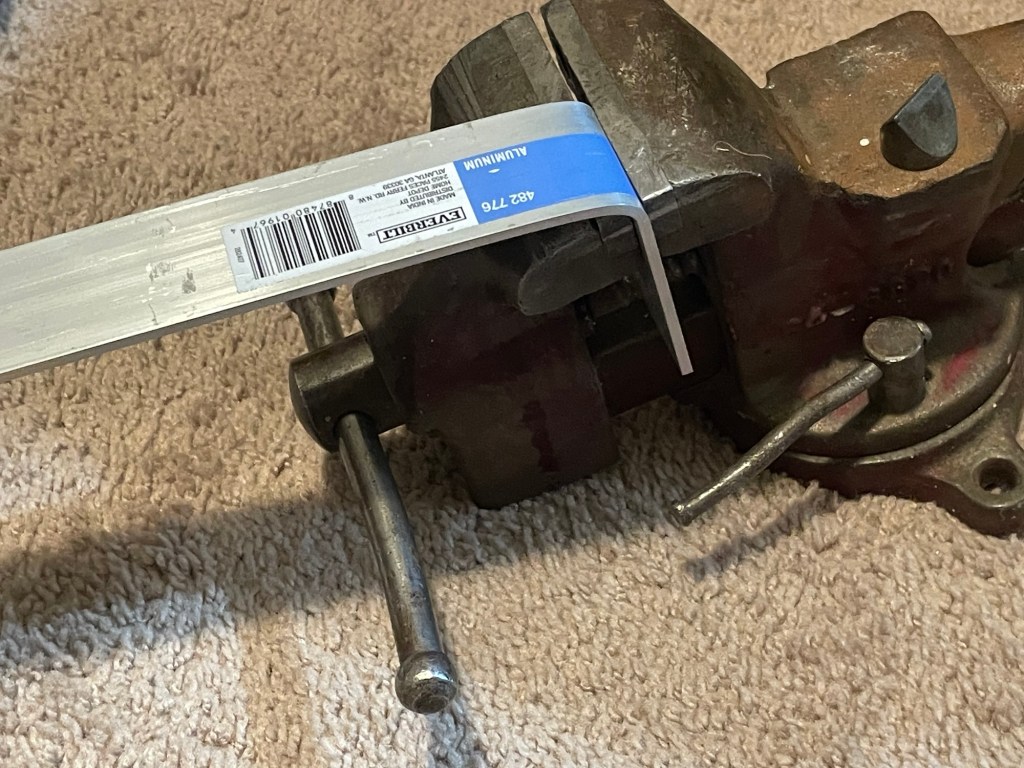
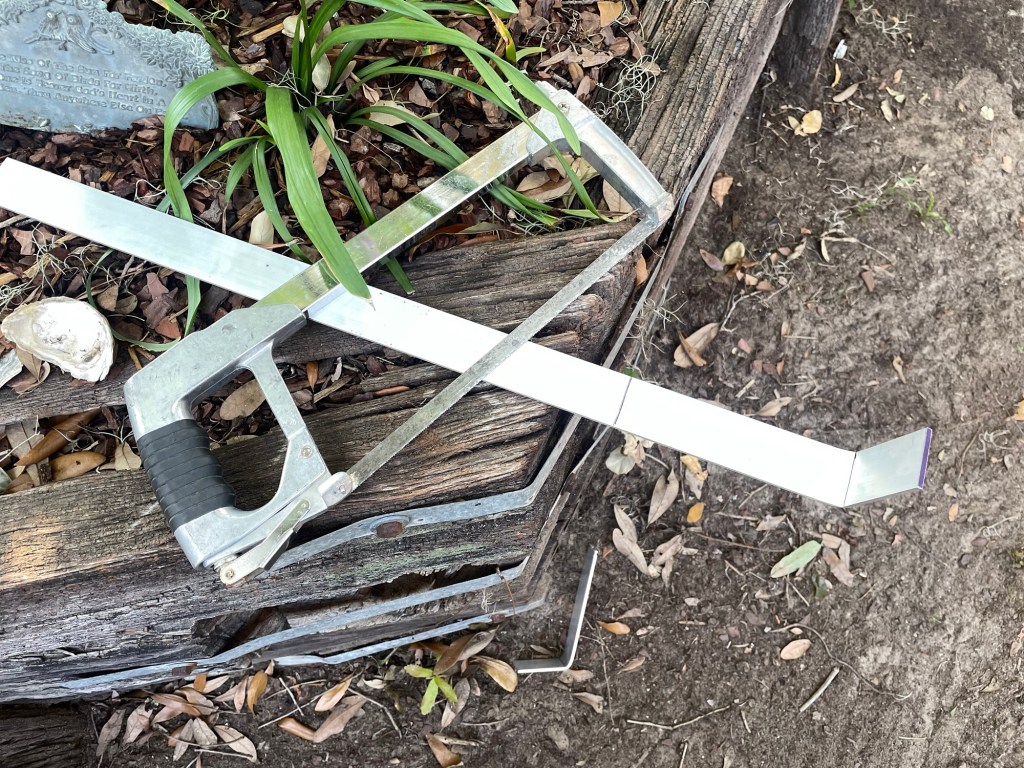
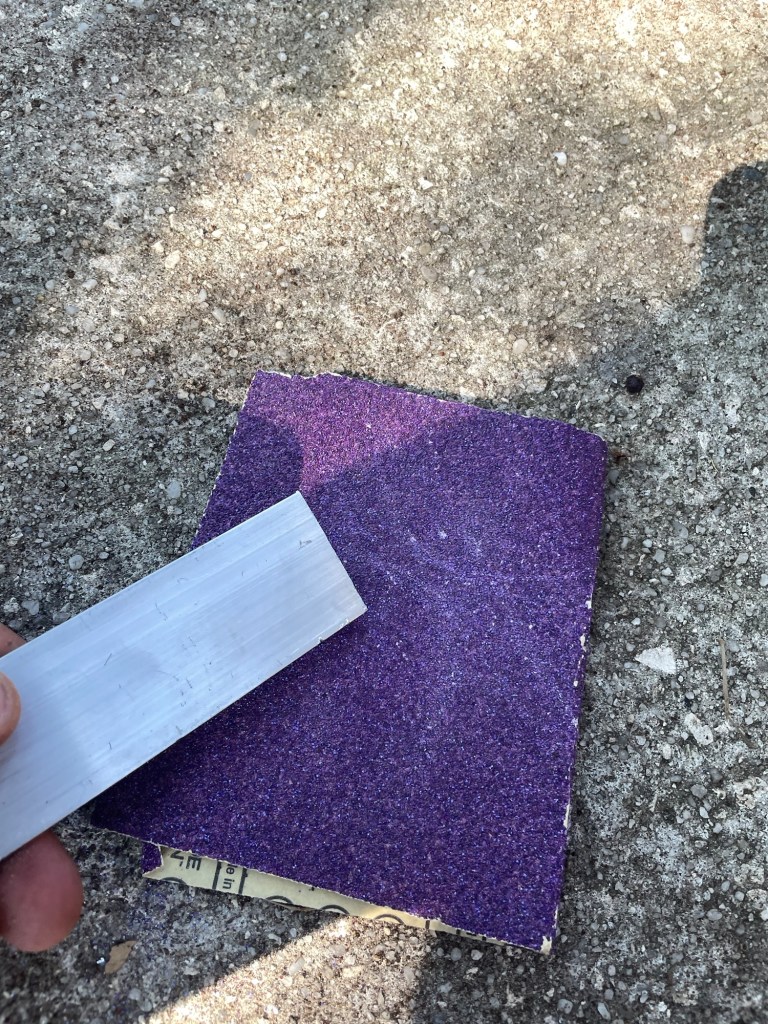
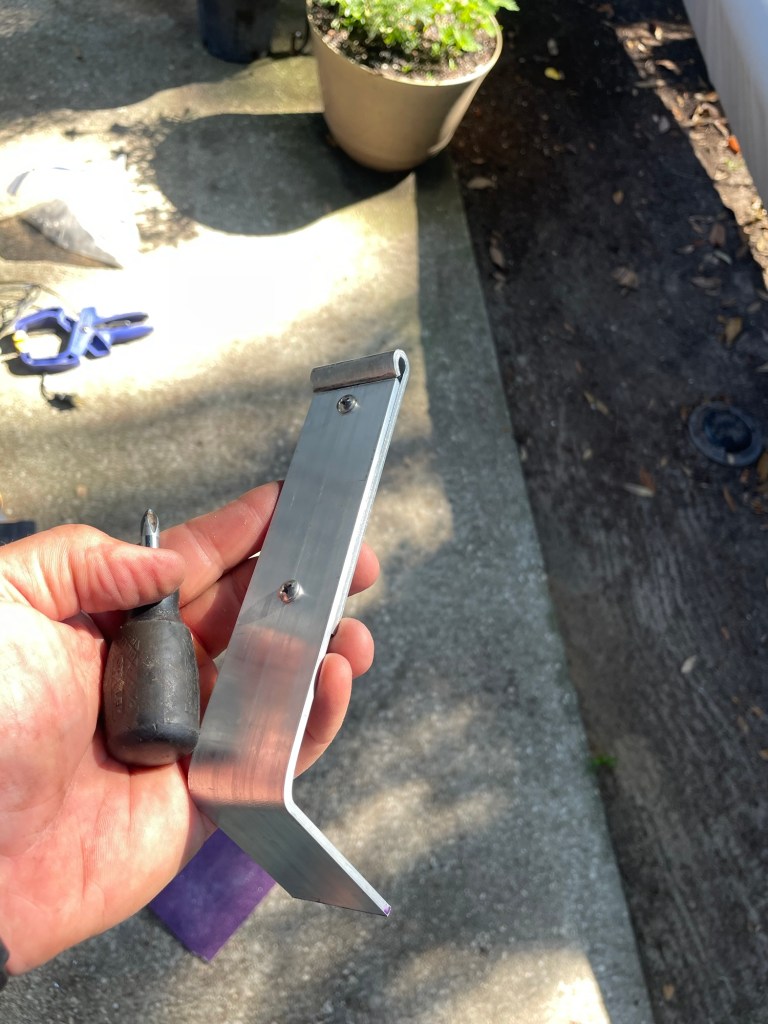
Now it was time to fabricate the risers. I used 1/8″ thick, 2″ flat aluminum stock. I calculated that a 6″ riser height would let my head clear the pedestal once the yoke had pads mounted. A 2″ long tab for mounting to the yoke was bent into one end of the riser using a vise, and the risers were cut to length with a hack saw.
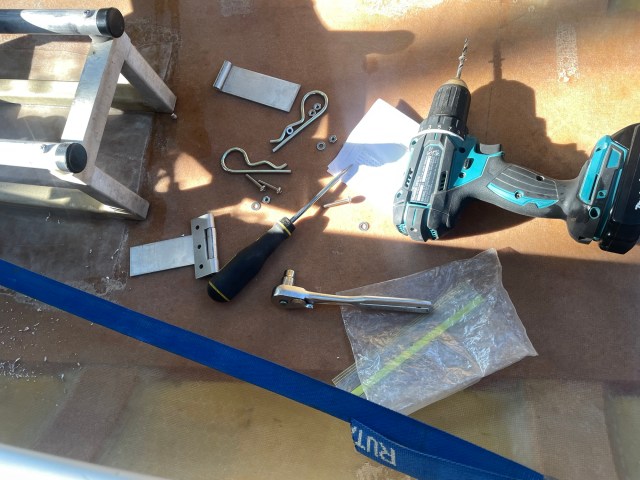
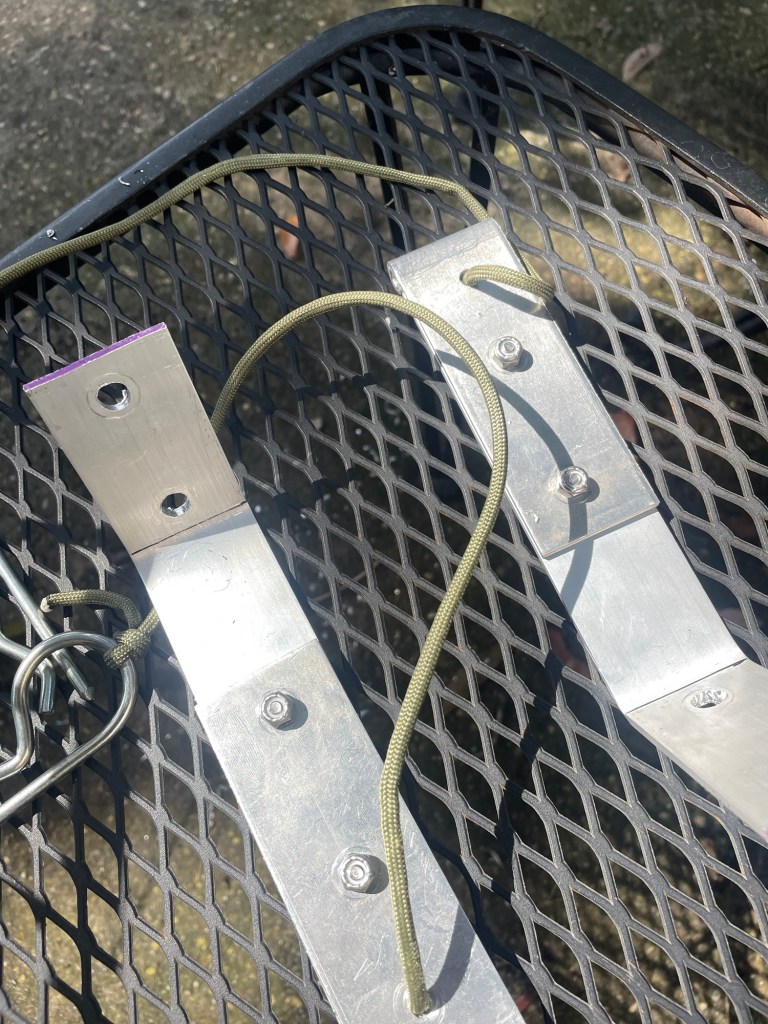
Next I mounted the risers to the yoke tabs from the removable tandem yoke hardware. I used a spring punch to mark the risers for drilling and secured the two pieces using stainless bolts and nuts. Here I made a mistake. I later discovered that the hardware closest to the hinge interfered with mounting the brackets in the canoe. So I drilled a second set of holes higher on the bracket and used the original holes to attach lanyards for the yoke pins.
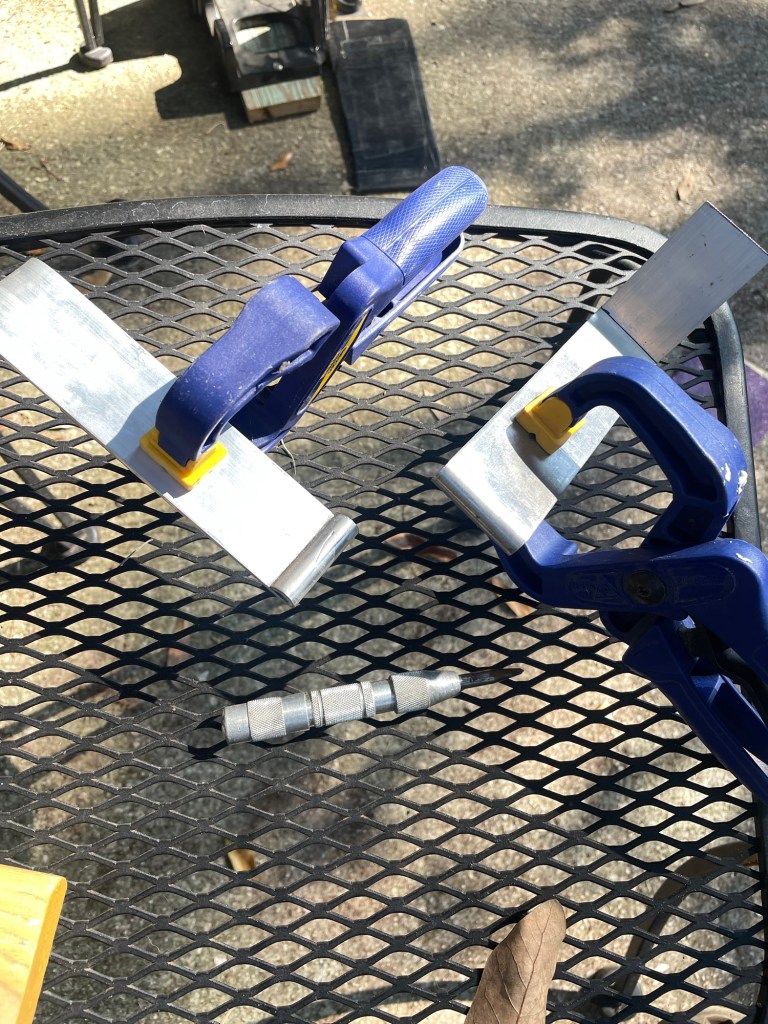
At this point I mounted the risers to the brackets in the gunwales by inserting the yoke pins and used clamps to position the yoke on the risers.
I made another mistake here. I should have paid a little more attention to the angle of the risers where they met the yoke. Clamping everything together before I drilled the yoke put enough pressure on the risers that I was able to force them together, but the angles later ended up being a little off, which made it difficult to insert the pins on the yoke. I figured out a solution to this later down the road.
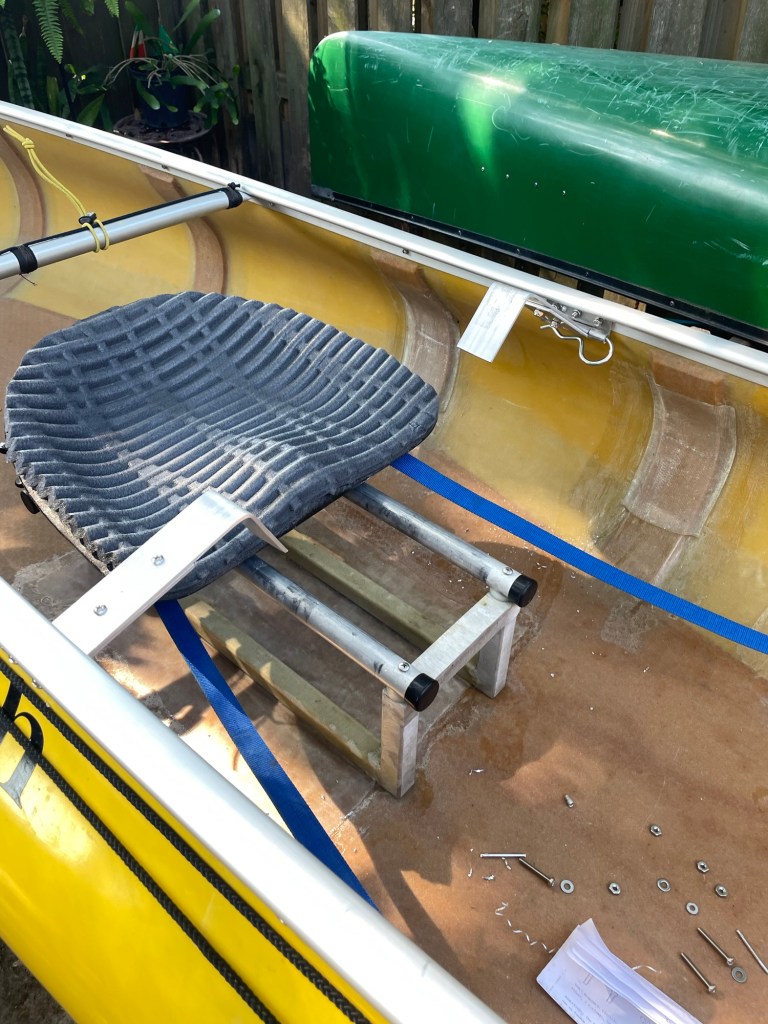
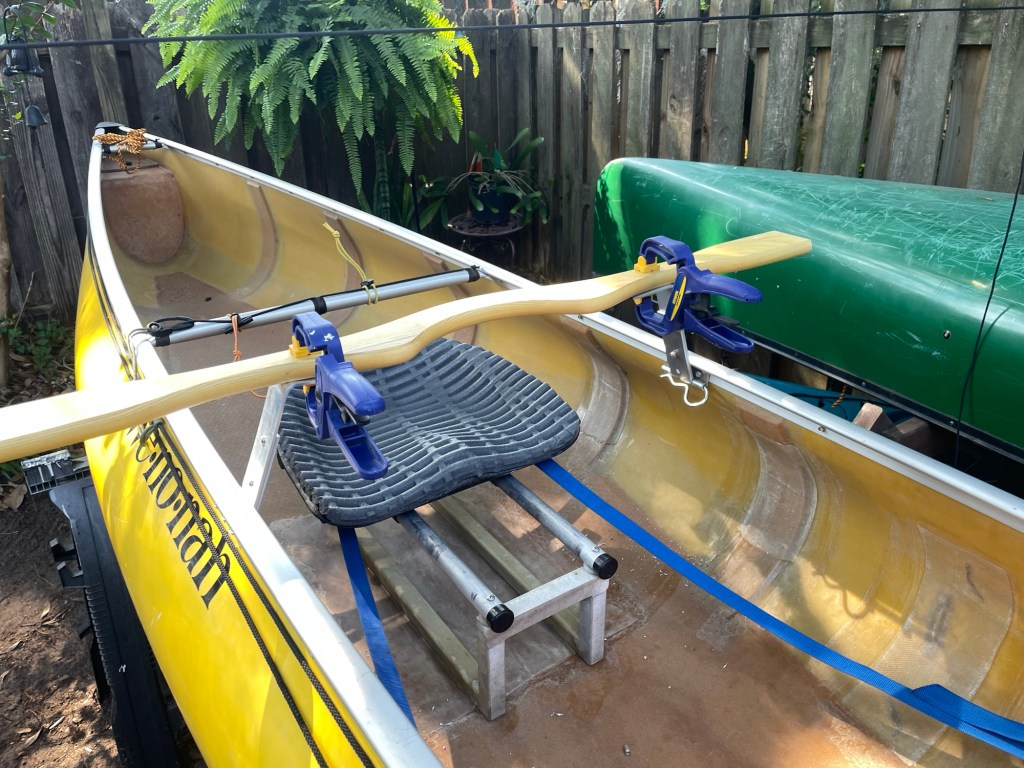
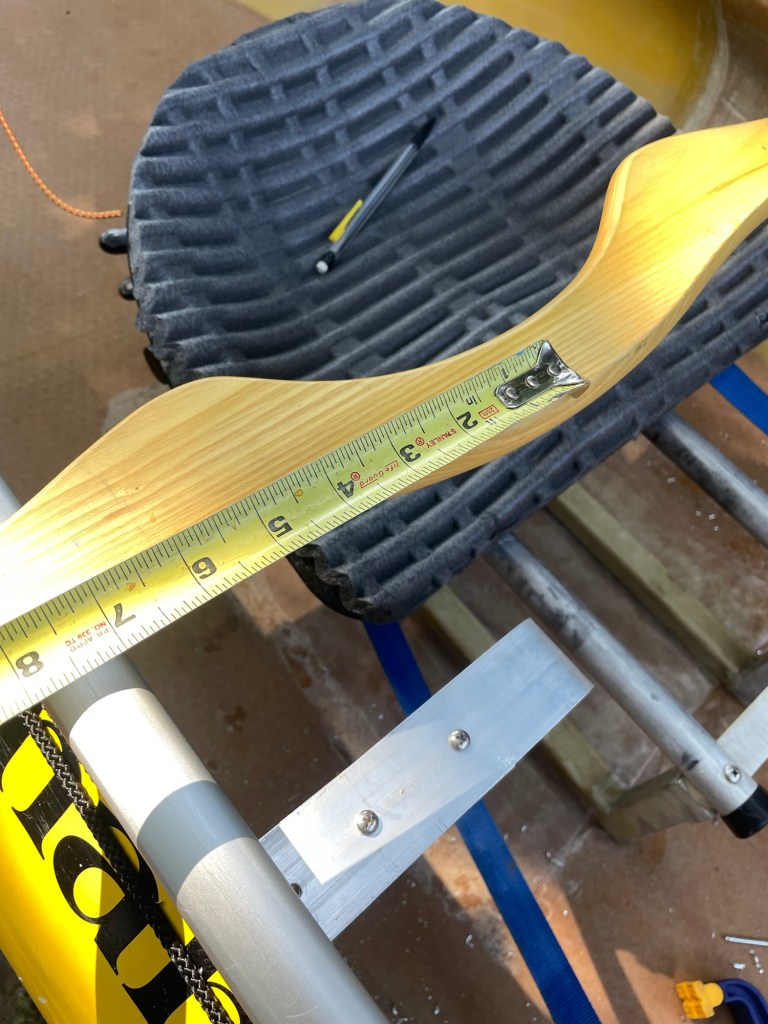
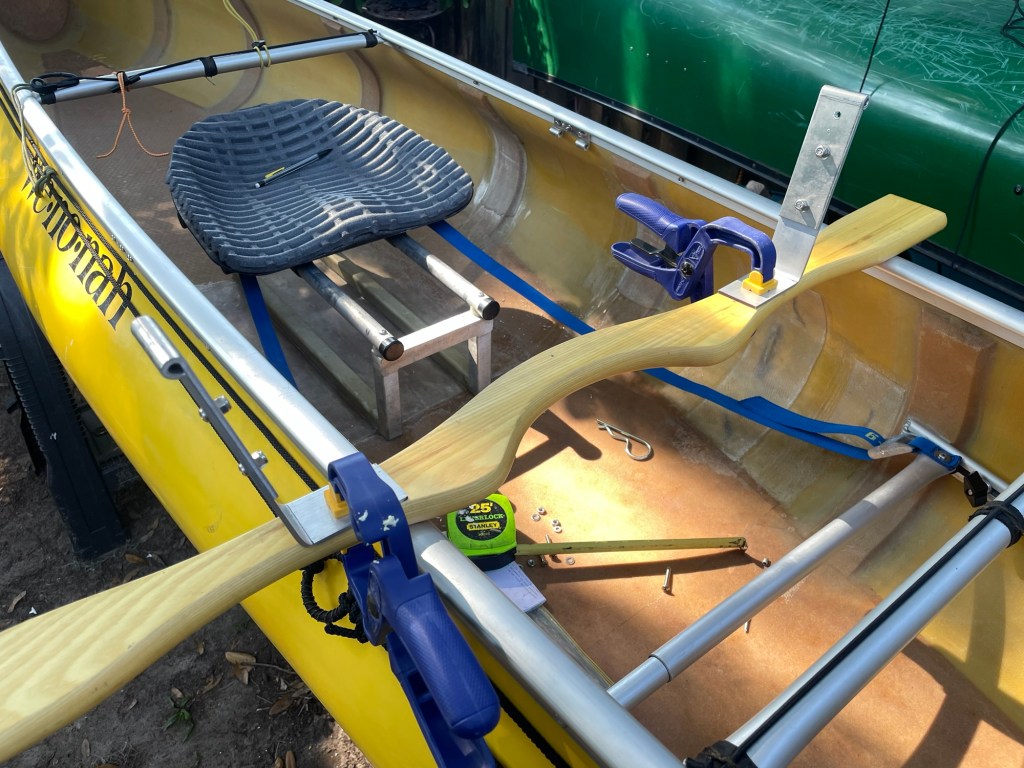
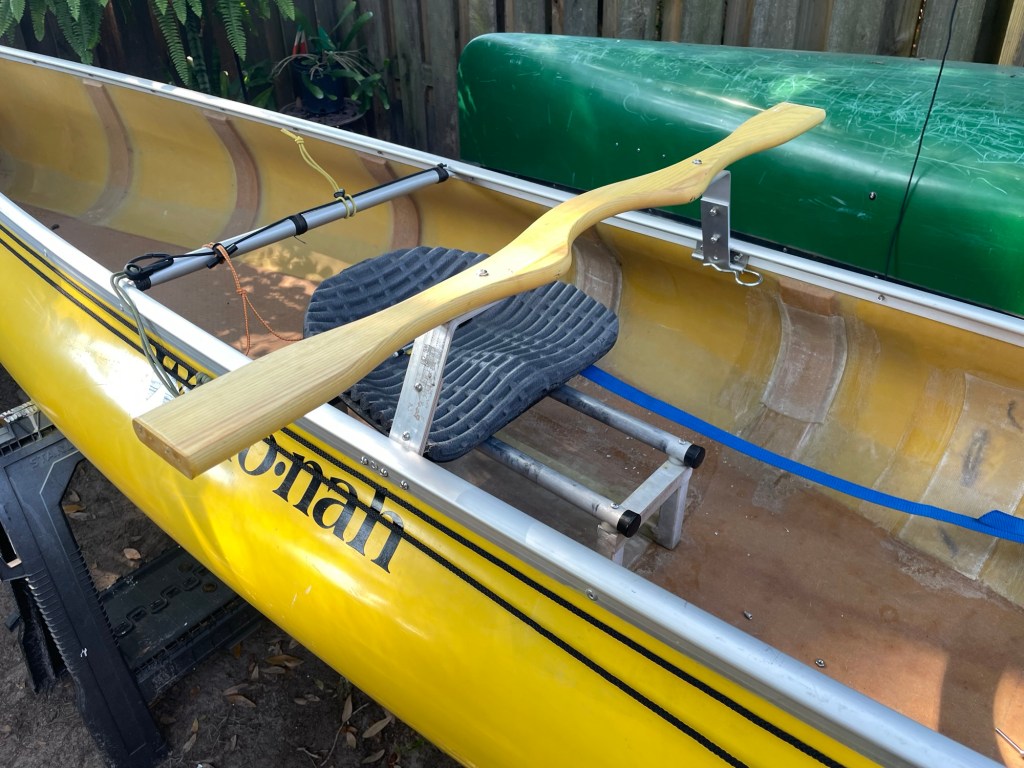
With everything bolted together it was time to trim off the excess ends of the ash yoke so it could be easily tucked into the canoe.
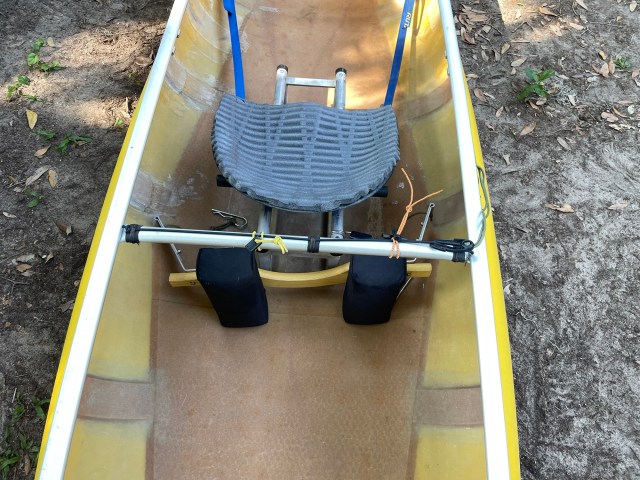
Project done, right?Well…not so fast.
With everything complete I discovered that it was VERY difficult to get the second pin into the brackets when mounting the yoke to the canoe. The angles weren’t exactly right and you really had to flex things hard to get the brackets to line up. The solution for this was to build a little fudge room into the brackets so they could be moved slightly on the yoke.
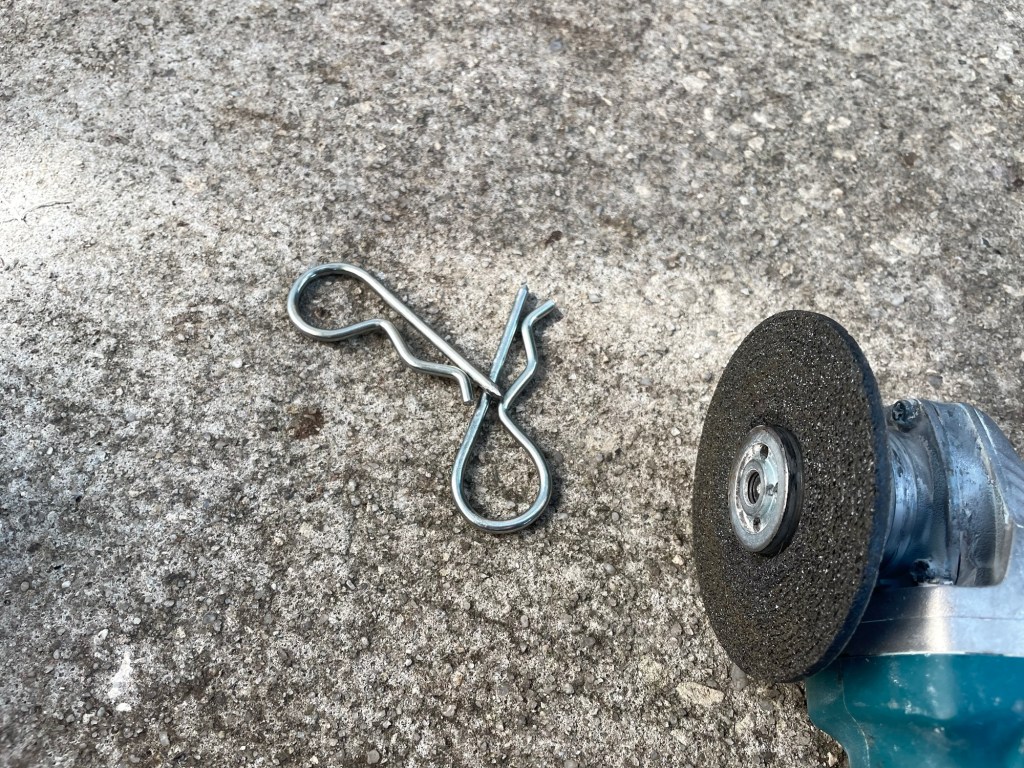
I did this by drilling the holes where the riser meets the yoke slightly oversized. This allowed me to shift the risers about 1/4″ when I put everything back together. I also ground the tips of the yoke pins to a sharper point, which helped them to self-center as they slid into the brackets. These two changes improved installation dramatically. If I do this again on another canoe I’ll be much more careful when I mount the risers to the yoke and will make sure the riser tabs are perfectly flush to the yoke before I drill.
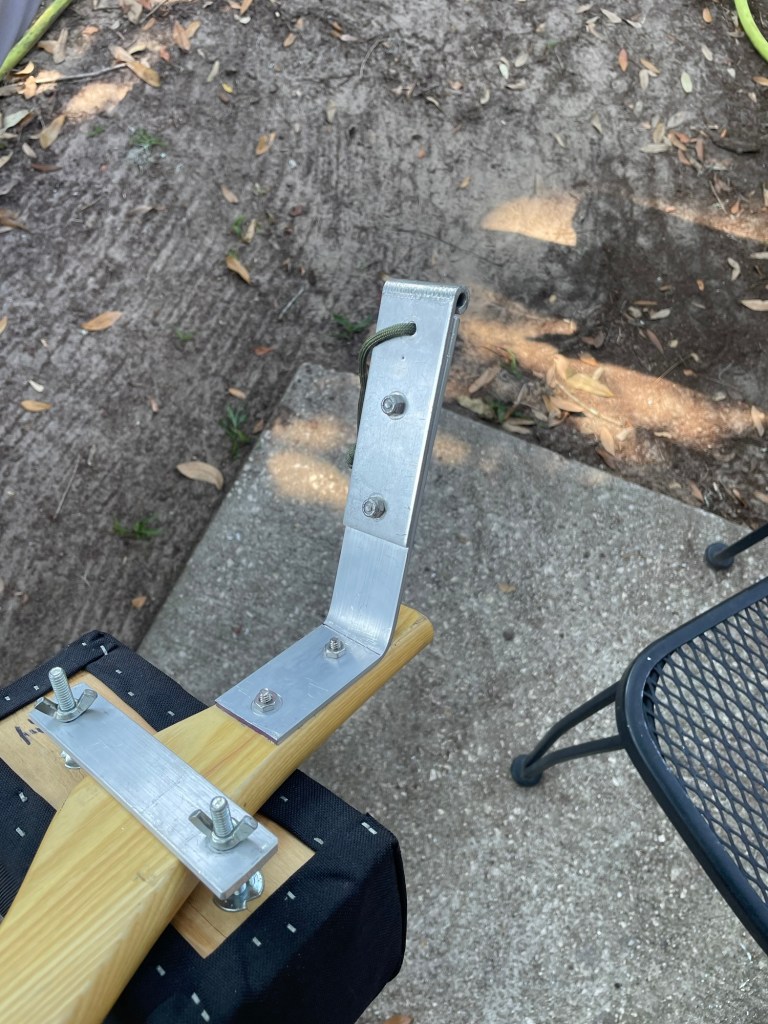
Now we’re done! Once installed the yoke is very secure. There is very little flex in the risers and plenty of clearance for your head above the pedestal. When removed, the yoke tucks neatly behind the seat and takes up little room in the canoe. This is a simple and effective option if you are looking for an alternative to a clamp-on solo yoke.
Materials List
Ash Yoke
Wenonah tandem removable yoke hardware
1/8″ flat aluminum stock, 2″ wide
Stainless bolts and nyloc nuts
3/16″ rivets
3/16″ drill bit
550 cord for lanyards
Superior Portage Pads
Links
Wenonah Tandem Removable Yoke Hardware
Wenonah Ash Yoke
If you enjoyed this post, please consider subscribing to Kitchi-Gami.com by using one of the links in the menu on the right side of the screen. On your mobile device you’ll find the links if you scroll to the bottom of the page. Thanks!
 Kitchi-Gami